|
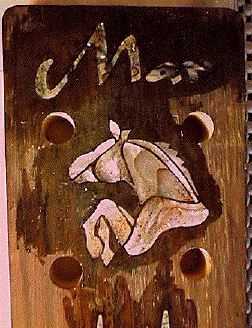
Above is what it looks like when you are actually gluing the inlay pieces in with the epoxy. It is a BIG MESS!!! There are inevitably going to be gaps, as it is difficult (for me, at least) to rout out the cavity to fit your pieces exactly. But by mixing epoxy with rosewood dust, you can fill those gaps and, unless you looked really closely, you can't even tell the gaps are there! (Thank goodness for that!) |
After the epoxy has hardened, I scrape and sand the surfaces smooth. Above is the result! You can see the pores in the rosewood; they will later be filled with paste wood filler, darkened with some artists pigment, before applying the finish. |
||
|
|


| To Previous Page |